| Step 1: |
Please first make sure that WiFi is turned Off under Settings in the iPhone. This is to ensure that no restrictions set by a wireless router are encountered while trying to initially set up the account.
|
| Step 2: |
Next, click the Mail, Contacts, Calendars selection.
|
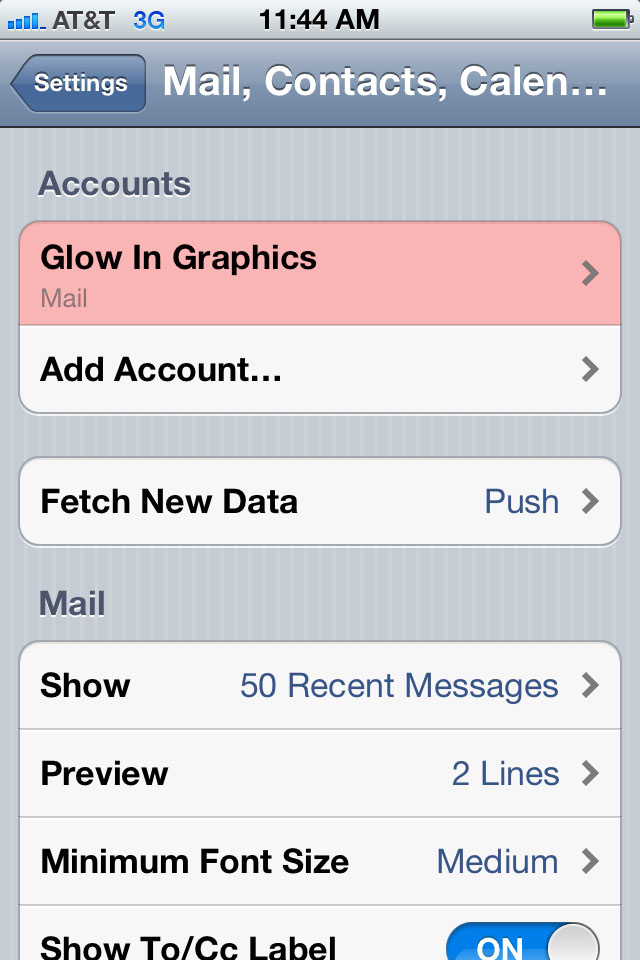
| Step 3: |
Select Add Account…
|
| Step 4: |
Select Other
|
| Step 5: |
Select Add Mail Account
|
| Step 6: |
Enter the name you wish to display to others when sending mail, your full e-mail address, and the password for the e-mail account. The description will mirror the e-mail address by default, although you may change it to whatever you like. When finished, tap Next at the top right.
|
| Step 7: |
Wait while the phone saves and then it should display a new screen with extra settings. Make sure that the IMAP button is selected at the top left and you should see the Name, Address, and Description should have carried over.
Scroll down and enter “imap.1and1.com” without the quotes in the Host Name field and your full e-mail address in the User Name field under the Incoming Mail Server section. |
| Step 8: |
Enter “smtp.1and1.com” without the quotes in the Host Name field and your full e-mail address in the User Name field under the Outgoing Mail Server section and enter the password for the e-mail account.
Then tap Next at the top right. If you receive a message that the iPhone Cannot Connect Using SSL click the Yes button to try without SSL.
If you receive a message that The SMTP server “smtp.1and1.com” is not responding, click the OK button and double-check your information entered with the steps above.
|
| Step 9: |
The account should verify and you will be taken back to the main screen for Mail, Contacts, Calendars and see your newly set up account listed there.
|


Comments
No comment yet.