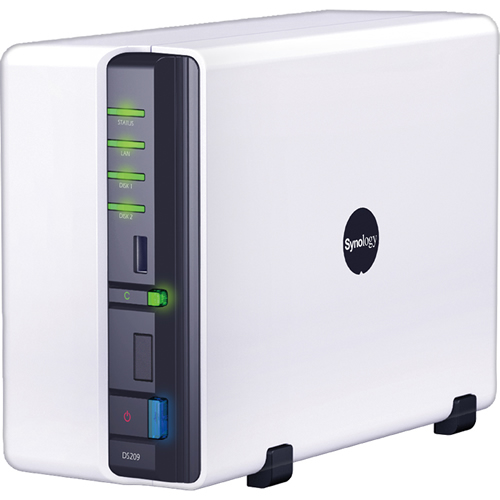
I have just bought a Synology DS209 that I want to use with Time Machine on my MacBook. I saw that Synology has added native support for Apple Time Machine so it will be interesting to see how this works with my Mac.
First of all I will recommend not to use Western Digital hard disk drives in the NAS. Read more about this here. I bought a Samsung EcoGreen F2 HDD instead and it works like a dream.
Step one
After you have assembled the NAS you will have to upgrade the firmware of the Synology NAS. Updates are found at Synology’s web site at their download section: synology.com
Step two
Now you will have to create a diskvolume. Go to Storage -> Volume and select Create. Chose the setup that you want – if you select the recommended option to inspect the disk it will take about 5 or 6 hours before the hard disk drive is ready.
Step three
Create a shared folder and give it a proper name without white spaces and make it hidden – e.g. “TimeMachine”.

Create a new user. I called mine MacBook. Set a quota – in my case 350 GB. Grant read/write access to the folder that we just created.


Step four
Go to File Sharing -> Win/Mac OS and enable Apple Talk. Then select the folder we created for Time Machine and press ok. Go to System Settings -> Time Machine on your Mac and the new folder is visible when you selects the hard disk for Time Machine backup. Enter the username and password of the user – in my case the user is MacBook. The initial backup takes a lot of time but after that is runs like a dream.

Update: I tried to make the NAS wireless with my Apple AirPort Express and it didn’t work with Time Machine. The connection was unstable and failed whenever i tried to work with large files. So use a network cable.
